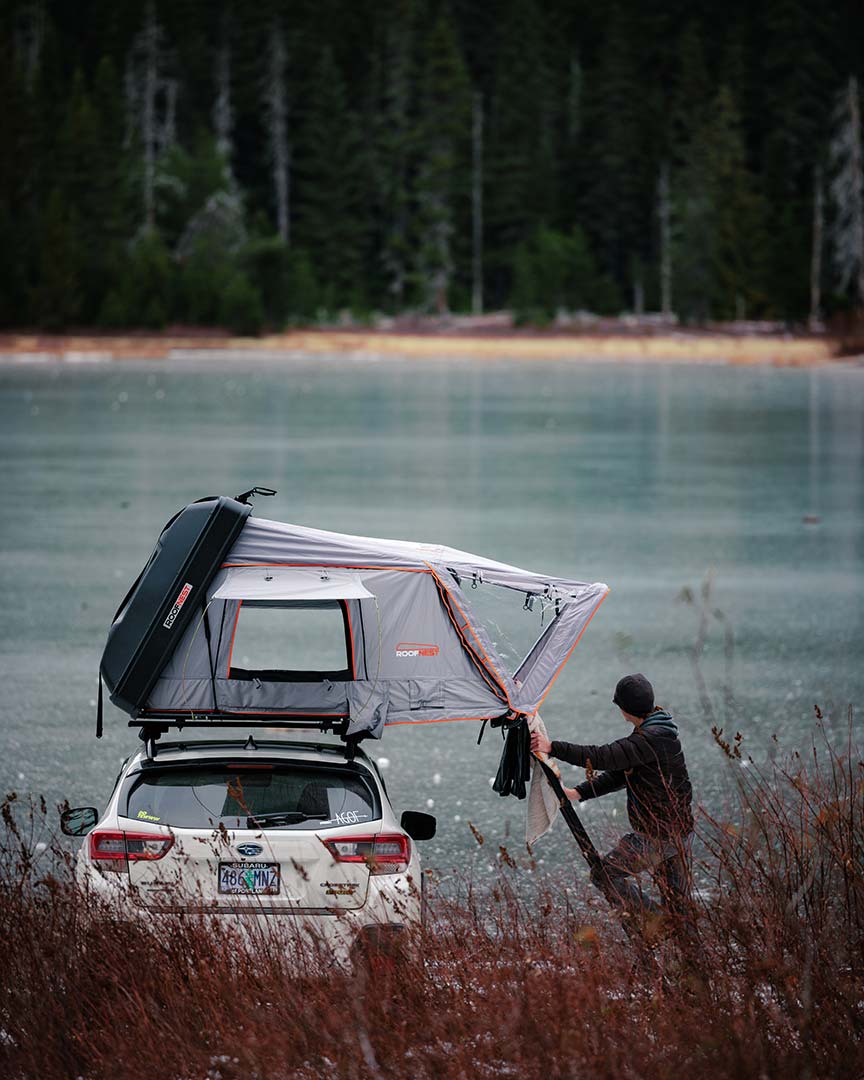
Installing Your Tent
- You will need at least two people to safely lift the tent. Tents over 200lbs will likely need 3-4 people. Do not try to install your tent by yourself.
- The first step will be to recover the mounting hardware:
- For Sparrows, open one side of the tent and remove the nylon bag containing the mounting hardware and ladder. Remove the small bag of mounting hardware from the nylon bag.
- For Falcon 3's and Falcon 3 Air's in all versions, open the tent and remove the ladder and black bag containing the mounting kit.
- For Condor 2's and Condor 2 Air's in all versions, open the tent fully on the ground and remove the bag containing the mounting hardware. There should be an orange ribbon tied to the hardware bag to make it easier to locate.
- For Meadowlark Regular and XL, remove tent from box, open, and locate the mounting hardware inside one of the included shoe bags.
- Remove all the mounting hardware. Assemble four bolts and sliders. Apply some of the included white lithium grease to the threads. You do not need a lot.
- Choose which bracket shape you wish to use and connect one end to each of the 4 bolts/sliders and just hand tighten on the nut.
NOTE: Some mounting kits have curved brackets, and some have flat brackets. They both work exactly the same way and are the same strength.

- Lift your tent and place it in the general location you want it on your roof rack’s crossbars. It does not need to be perfectly centered at this point.
- Working one side at a time, slide the partially assembled bracket into the mounting track until you reach the bar. Lift the tent just enough for the bolt to slide past the crossbar so it's in between both bars. Do this for all four brackets.
- Assemble the final four bolts and sliders, apply grease to threads, and push them into the mounting tracks.
- Position the loose end of the clamping plate over the outside bolt and hand tighten the nut to keep in place.
- Position the tent where you want it on the rack. We recommend having No More than 1/3 of the total length of the tent overhanging either the front or rear of the rack.
- Use the included 13mm wrench and start tightening everything. Work both sides evenly to keep the tension consistent on both bolts. For instance, don't just tighten one side completely then try to tighten the other. This can damage the threads and/or make it more likely for the bracket to shift while driving.
After driving ~20 miles, check all of your hardware to ensure it’s still tight and hasn’t loosened.
Tips and suggestions:
- We use M8 x 1.25 thread hex head bolts. These are available in a wide range of lengths and metal grades at most hardware stores. If your crossbars are low profile or extra thick, you may want to pick up some different length bolts prior to install. Shorter bolts can reduce the chance to damaging the top of the vehicle if your rack sits very close to the roof.
- A battery powered 90 degree ratchet can speed up install and removal significantly if there's room for one to be used. A deep 13mm socket will tighten the nut farther than a standard depth socket. You'll still likely need to finish things up by hand with the wrench.
- Having a pair of saw horses, rack, or work bench that you can set the tent onto at about waist height is very helpful. This will allow you to change the grip on the tent safely without risk of dropping it or having it shift on you unexpectedly and reduce the chance of injuring yourself.
- When removing, you only need to fully loosen the outer bolt on each bracket. This can save time when re-installing the tent later on.


